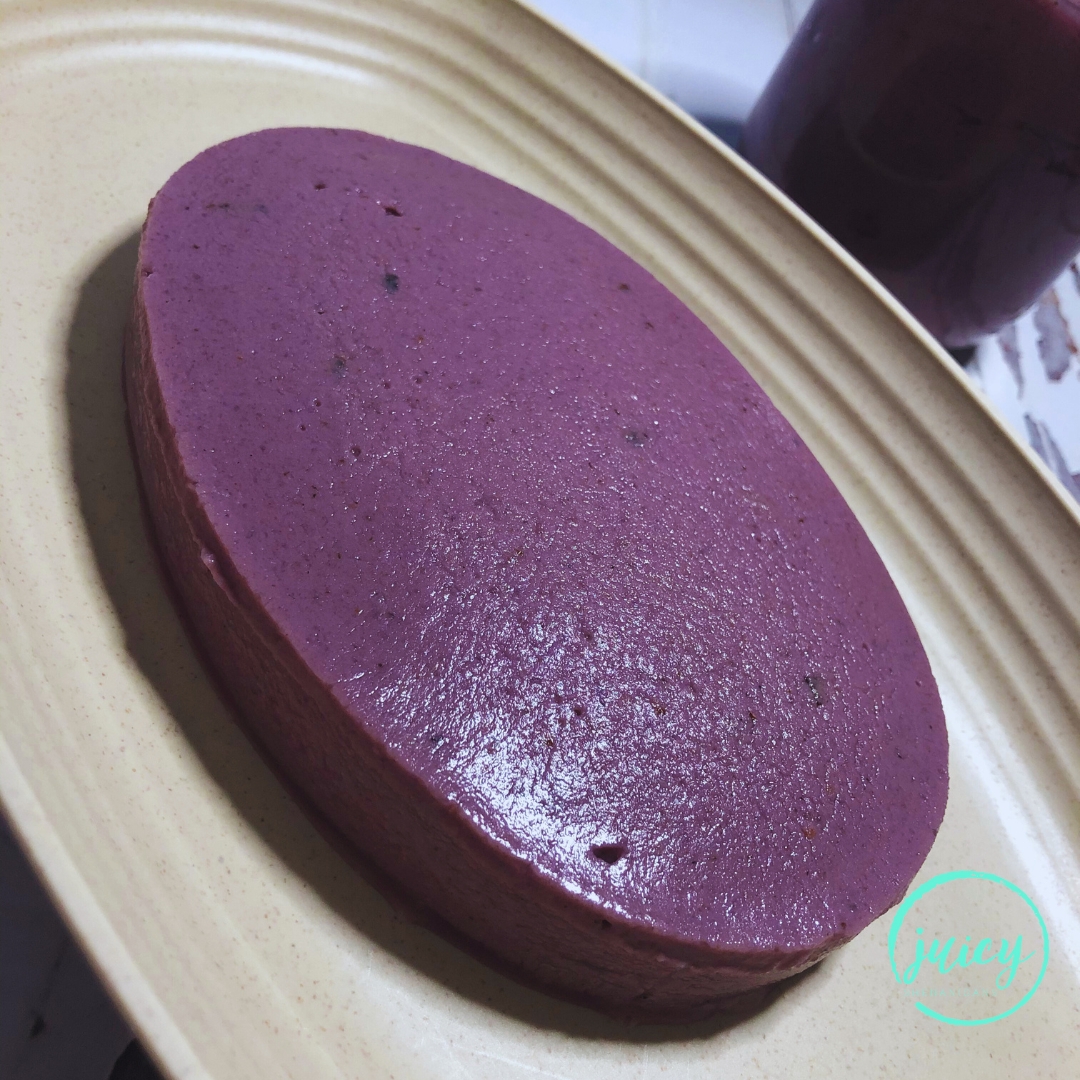
When it comes to desserts, few things bring me back to my childhood quite like ube halaya. This purple, velvety dream is more than just a sweet treat—it’s a technicolour ride down memory lane. Growing up in Australia, we didn’t always have the luxury of fresh ube yams lying around. In fact, finding frozen grated ube felt like uncovering a rare treasure in the freezer section of the local Asian grocer. And oh, the looks I’d get when trying to explain that yes, this bright purple thing really was going to become my dessert.
The Key to Ube Halaya? A Lot of Stirring… A LOT
Making ube halaya is not for the faint of heart, or should I say, the faint of arm muscles? Get ready to stir, stir, and stir some more. That’s right, my friends. This dish requires the patience of a saint and the arm strength of a Manny Pacquiao. If you’ve ever wondered why your grandmother always had the best ube halaya, it’s because she was basically stirring a pot of purple gold for over an hour without breaking a sweat.
The key to perfect ube halaya lies in this constant stirring. Too much heat or too little attention, and your ube turns from a sweet purple cloud to a charred purple brick. I’m not exaggerating—I’ve experienced the pain of having to scrape bits of burnt ube off the wok. You can try to take shortcuts, but in the end, that arm workout is what gives the halaya its signature creamy consistency.
Purple Yam? More Like Purple Magic!
Let’s talk ingredients. Ube itself, a type of purple yam, is like a culinary unicorn in the Philippines. The vibrant colour is all-natural, making ube halaya one of the most Instagrammable desserts out there. But I’ll let you in on a secret: while fresh ube is great, frozen grated ube works just as well (and saves you from wrestling with a yam bigger than your head).
Once you’ve got your ube defrosted, you’ll need the usual suspects: evaporated milk, condensed milk, and a bit of brown sugar to add that caramel-like depth. A bit of butter rounds out the flavour, giving the halaya a luxurious finish. And let’s not forget the ube flavouring! It’s the trick to enhancing the yam’s natural taste, giving the dish a subtle floral sweetness that leaves you wondering why every dessert isn’t this purple.
Bringing a Slice of the Philippines to Canada: My Ube Halaya Adventure
Now that I live in Canada, making ube halaya has become my little reminder of home. But let’s be real—finding ube here feels like playing a very difficult game of “spot the Filipino ingredient.” Fortunately, I’ve learned to stockpile frozen ube like it’s a rare Pokémon card.
My kitchen is no longer just a place to cook; it’s a tiny Filipino island in the middle of Canadian snowstorms. Picture this: outside, it’s -20°C, and I’m inside, sweating over the stove while stirring ube. That’s Canada for you—frozen outside, but here I am defrosting frozen ube and warming my soul with purple yam magic.
The Reward: Sweet, Silky Ube Goodness
After all that stirring, the final result is always worth it. Filipino ube halaya is silky smooth with just the right amount of sweetness. It’s a treat that’s best served chilled, with a glossy, buttery sheen. And once you’ve had that first spoonful, trust me, you won’t want to stop.
My pro tip: make a big batch and store it in the fridge. It keeps for days (if you don’t eat it all in one sitting), and you can spread it on toast, layer it in desserts, use it to level up your pancakes, or eat it straight out of the jar like a true halaya fanatic.
Ube Halaya: Because Your Taste Buds Deserve a Purple Party
Equipment
- Wok (or large pot)
- Heat proof container (or jars, llanera)
- Spatula
Ingredients
- 454 g frozen grated ube (purple yam) (1 pack)
- 354 ml can evaporated milk (1 can)
- 300 ml condensed milk (1 can)
- ½ cup packed brown sugar (100g)
- 4 Tbsp unsalted butter softened and cubed (57g)
- 1 tsp ube flavouring
- ½ tsp salt
Instructions
- Defrost the frozen grated ube. (I usually defrost in the fridge overnight).
- Heat wok on the stove to a medium heat.
- Once heated, add evaporated milk and brown sugar. Stir until the sugar is dissolved.
- Add condensed milk and ½ tsp salt. Stir to combine well.
- Add the ube and ube flavouring.
- Stir continuously until for about 20-30 minutes. Your halaya will start to thicken. Note: Don’t let your mixture stand or leave it unattended, otherwise it will burn. Don’t turn up the heat either. Constant stirring over medium heat is what you’re looking for.
- Add butter. Stir some more until the butter melts and is well combined with your halaya.
- Continue to stir until you reach your desired consistency for your halaya. I usually stir for another 10-15 minutes.
- Transfer to a heat-proof container.
- Cool, uncovered at room temperature for about 30 minutes.
- Cover your container and cool completely in the fridge for at least 2 hours.
- Serve and enjoy!


